
Platform
Mirai Platform offers a simple and intuitive interface for downloading, installing, and integrating the SDK into your project. In this section, you’ll find a step-by-step guide that will help you obtain an API key and run an AI model on your device.
Registration
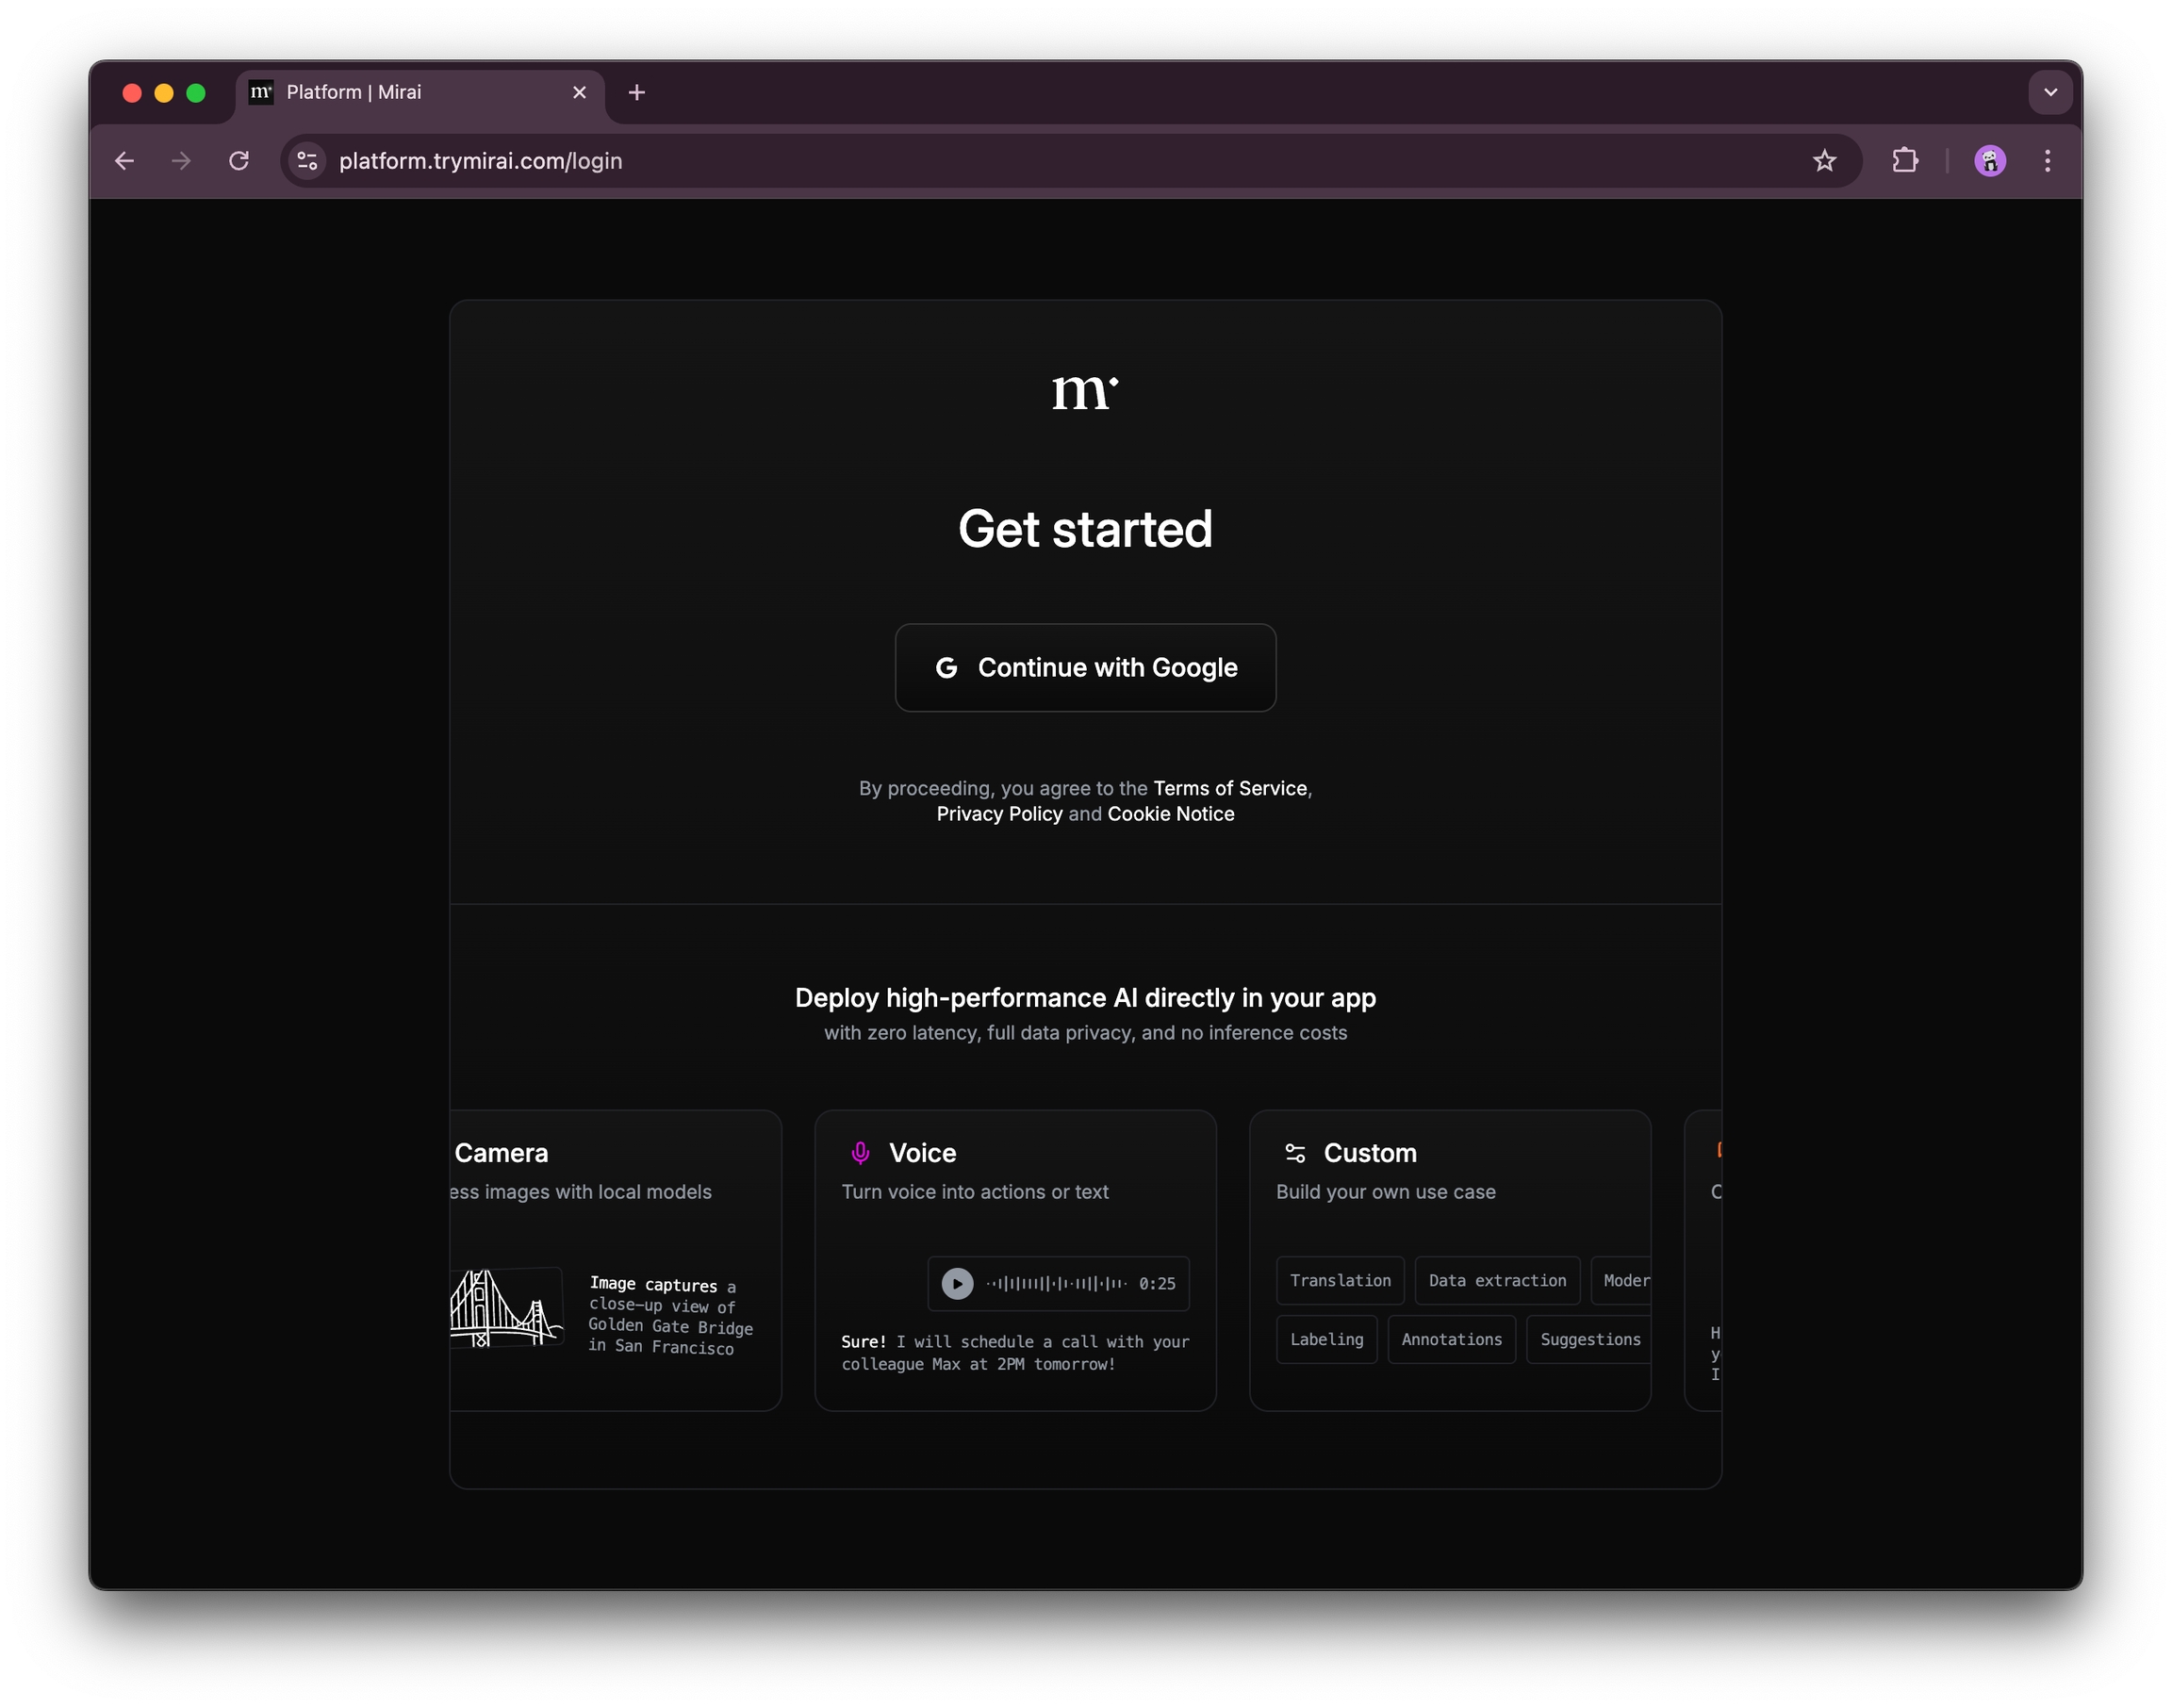
Currently, sign-in and registration are supported via Google. To get started, click the sign-in button and follow the flow until the provider redirects you back to the site.
If you are signing in for the first time, we’ll register a new user and prompt you to create an organization, which will be used for further interaction with the platform.
If you’re signing in again, this step will be skipped.
Organization setup
This step is required. Please enter your company name, and briefly describe what you’re working on. After entering your information, click Set up. You may need to wait a moment for the process to complete.

Agreement
To start using our platform, you need to accept and sign the SDK License and the Data Processing Addendum (DPA). Without this, we won’t be able to provide our services. To complete this step, check the box and click the Create button to proceed with creating your first project.

Project setup
After accepting the terms of use, you’ll be redirected to the page for your first project in Mirai Platform. We recommend renaming the project for your convenience.
In the current version of the platform, we only provide access to the Swift SDK, but additional platforms will be added in the future. Pay close attention to the API keys section: the key can only be copied once when it’s created. After that, it will no longer be accessible. We do not store private keys on our servers, so it won’t be possible to recover them.
Please be very careful and make sure to save your API key in a secure location. Remember, once your application is in production, you won’t be able to change the key for your users. To update the key, you’ll need to release a new version of your app with the new API key.

By default, your project is created with the General Chat use case. This is intended as a simple and clear demonstration of how the SDK works. You can choose any other use case and see how it’s configured in code. This setting does not affect the operation of the SDK on your device and is for demonstration purposes only.
Project activation
At the very bottom of the project page, you’ll see a visual indicator (Step 5) confirming whether your application is successfully connected. Once you integrate the SDK into your product, use the copied API key and launch your app. The SDK will then notify our server that your device has been registered successfully. At that point, the indicator will turn into a checkmark, confirming that everything is working as expected.

Congratulations! You’re awesome! Use on-device AI to create a unique user experience. And please don’t hesitate to reach out if you have any suggestions for improvement.
Happy coding! ❤️
Last updated