Sometimes you want to create a complex pipeline where some requests are processed on-device and the more complex ones are handled in the cloud using a larger model. With uzu, you can do this easily: just choose the cloud model you want to use and perform all requests through the same API.
iOS / macOS native app
macOS Node.js app
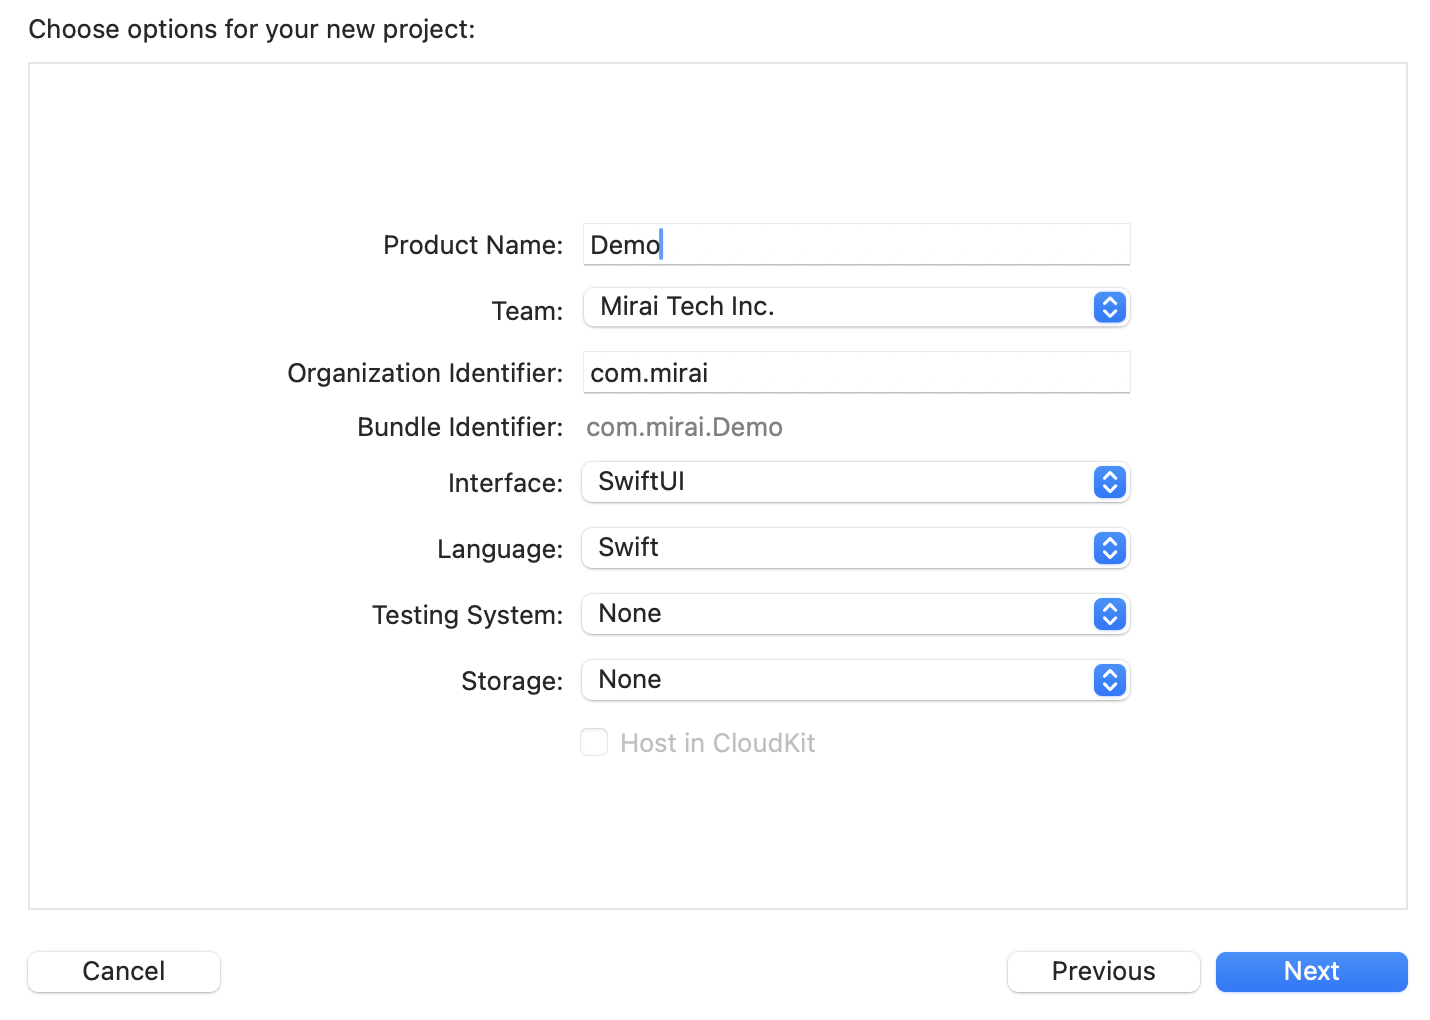
Create a new SwiftUI project
Add the SDK
Add this package through SPM:https://github.com/trymirai/uzu-swift.git
Paste the snippet
Go to ContentView.swift and add this snippet:Don’t forget to add your API key.
import Uzu

public func runCloud() async throws {
    let engine = try await UzuEngine.create(apiKey: "API_KEY")
    let model = try await engine.chatModel(repoId: "openai/gpt-oss-120b")
    let session = try engine.chatSession(model)
    let output = try session.run(
        input: .text(text: "How LLMs work"),
        config: RunConfig()
    ) { _ in
        return true
    }
    print(output.text.original)
}
Add the snippet call
var body: some View {
    VStack {
        Text("Cloud AI")
    }
    .onAppear() {
        Task {
            try await runCloud()
        }
    }
}
Make a new project folder
Install dependencies
pnpm add typescript ts-node @types/node -D
pnpm add @trymirai/uzu
Initialize a tsconfig.json
{
    "compilerOptions": {
        "target": "es2020",
        "module": "commonjs",
        "moduleResolution": "node",
        "strict": true,
        "esModuleInterop": true,
        "outDir": "dist",
        "types": [
            "node"
        ]
    },
    "include": [
        "*.ts"
    ]
}
Create main.ts
Don’t forget to add your API key.
import Engine from '@trymirai/uzu';

async function main() {
    const output = await Engine
        .create('API_KEY')
        .chatModel('openai/gpt-oss-120b')
        .reply('How LLMs work');
    console.log(output.text.original);
}

main().catch((error) => {
    console.error(error);
});
Now that we’ve tried the simplest snippet, let’s take a look at the step-by-step integration guide.